
Applies to: all Webtech customers
Your account details are what we use to invoice you and to reach you about your services — so it pays to keep them current. This guide also covers giving other people access to your account the safe way, without sharing your password.
Updating your details
- Log into your client area at https://my.webtech.co.za.
- Click Hello, [your name]! in the top menu and choose your profile, or go straight to the Account section — the left sidebar has My Details, User Management, Payment Methods, Contacts, Account Security and Email History.
- On My Details, update your name, company, email address, physical address and phone number, then click Save Changes.
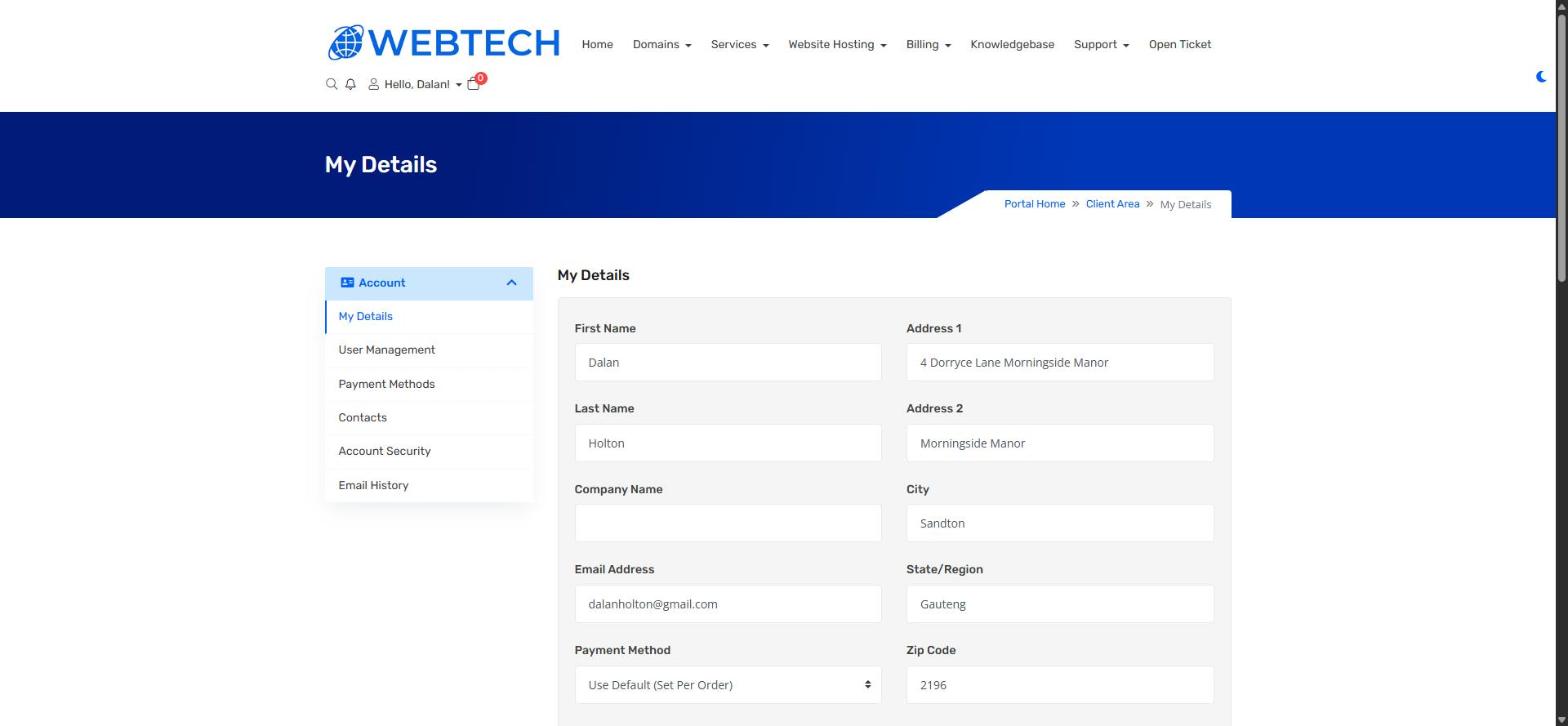
Note: changing your email address here changes your login email and where invoices and notifications are sent — make sure it's an address you check regularly.
Changing your password and enabling 2FA
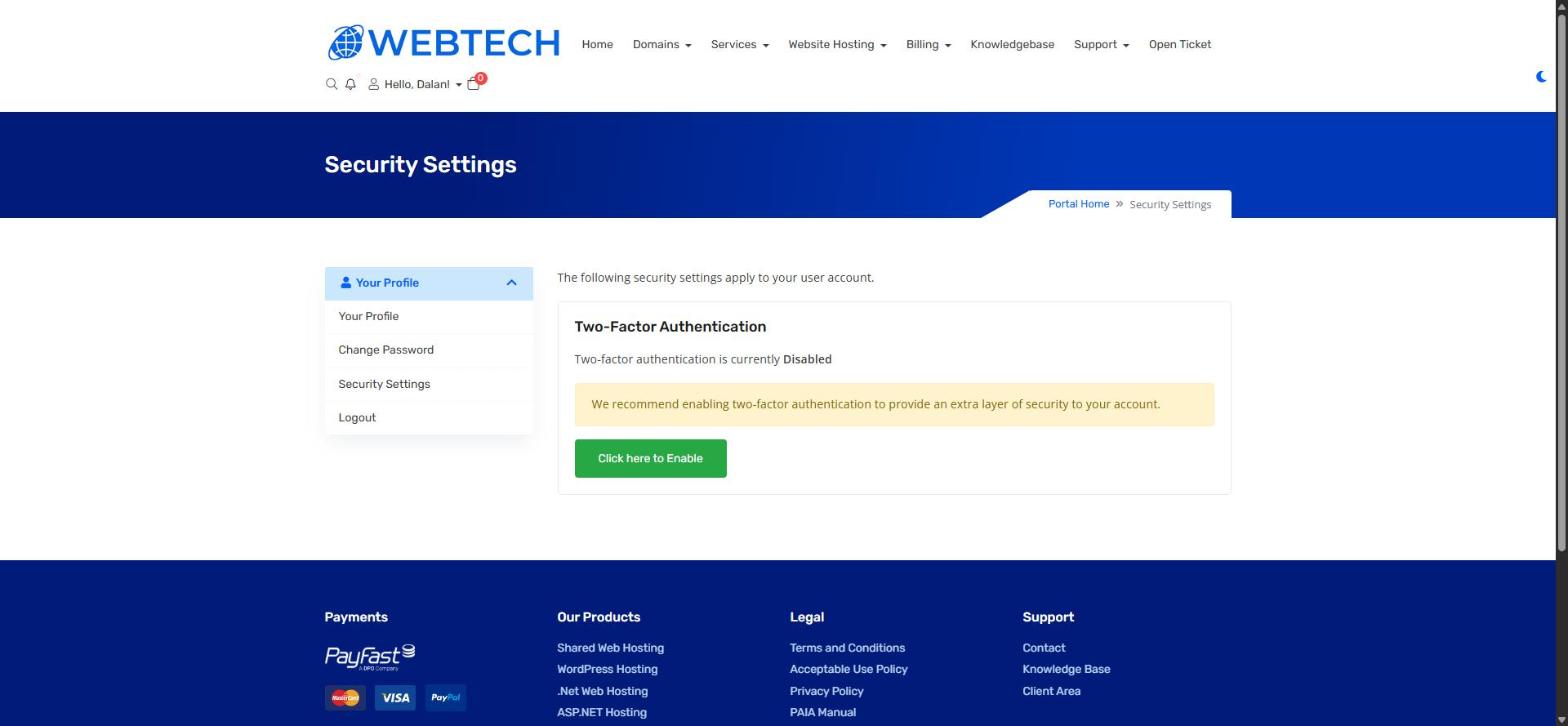
Under your profile menu you'll find Change Password and Security Settings. On Security Settings, click Click here to Enable under Two-Factor Authentication and follow the prompts (you'll scan a QR code with an authenticator app such as Google Authenticator). With 2FA on, a stolen password alone can't access your account.
Adding a contact (for invoices and notifications)
A contact receives copies of chosen emails (invoices, support, domain notices) but cannot log in:
- Go to Account > Contacts.
- With Add New Contact selected in the dropdown, click Go.
- Fill in their details, tick which email types they should receive (e.g. invoices for your bookkeeper), and save.
Adding a user (full or limited login access)
A user can actually log in with their own email and password:
- Go to Account > User Management.
- Enter the person's email address and choose their permission level — full access, or limited (for example, view and pay invoices only).
- Send the invite. They'll receive an email to set up their own login, and you can revoke their access at any time from the same page.
Using contacts and users instead of sharing your password means you can grant exactly the access someone needs — and take it away again cleanly when they leave.
Related articles
How to log into your client area • How to view and pay an invoice