
Applies to: Linux and WordPress hosting customers
Virtualmin is the control panel for your Linux hosting at Webtech. It's where you manage your website files, email accounts, databases, SSL certificate and web apps like WordPress. Here's how to get in.
Option 1: Straight from your client area (easiest)
- Log into your client area at https://my.webtech.co.za.
- Go to Services > My Products & Services and click your hosting package.
- Click Log in to Control Panel. You'll be signed into Virtualmin automatically.
Option 2: Logging in directly
- Find your server's name on the same product page under Hosting Information — for example
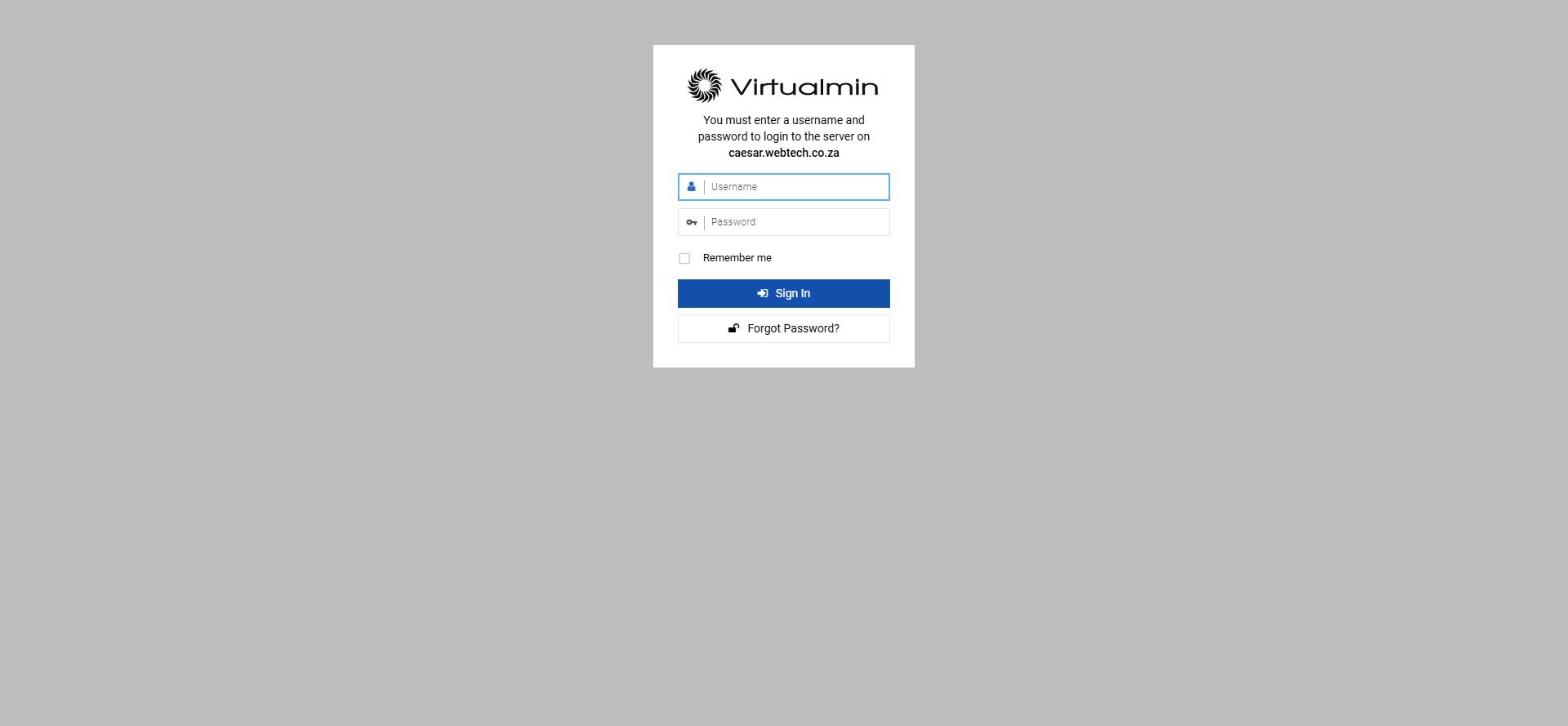
caesar.webtech.co.za. It's also in your welcome email. - Go to
https://your-server-name:10000(note the :10000 at the end). - Enter your Virtualmin username and password from your welcome email and click Sign In. There's a Forgot Password? link if you need a reset.
Finding your way around
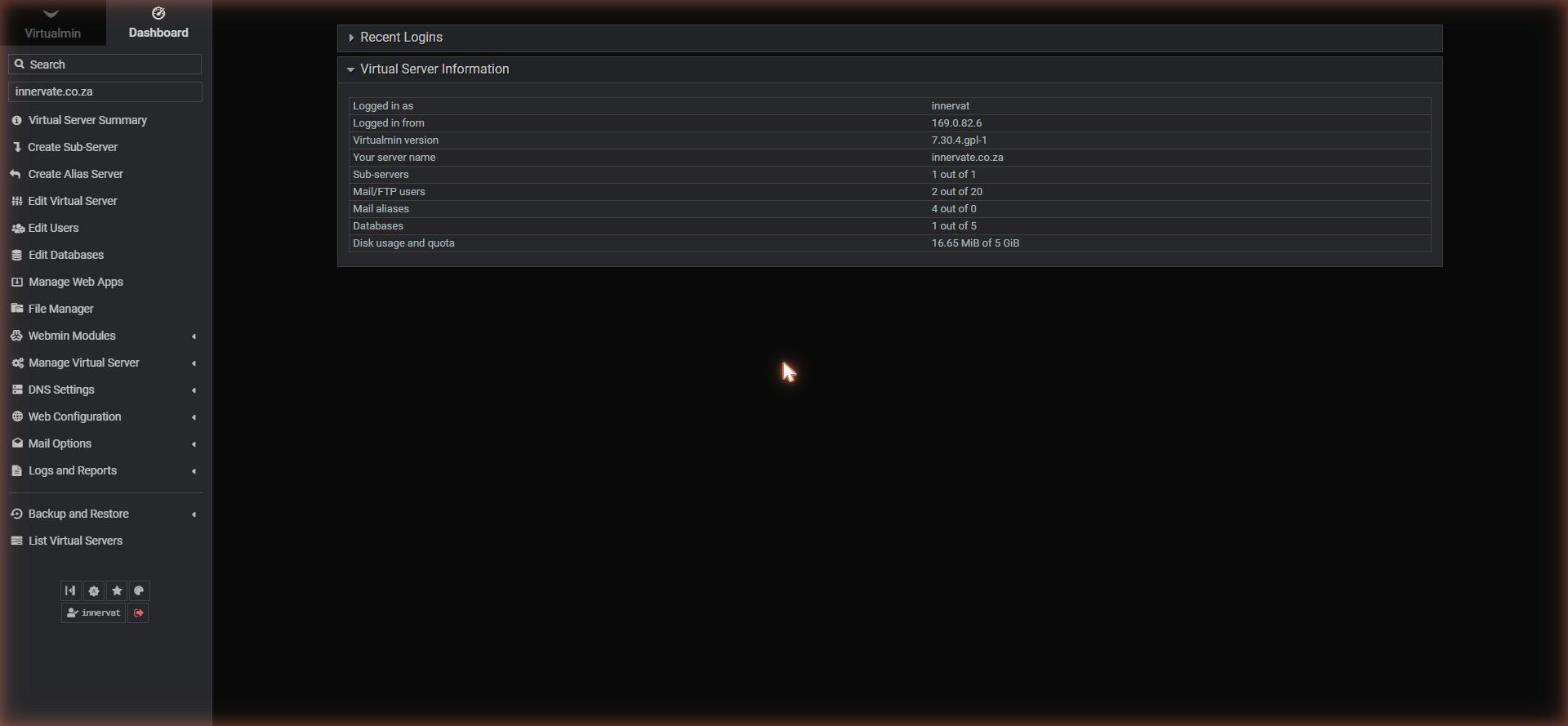
After signing in you'll see your virtual server's Dashboard, with a summary of your domain, users, databases, and disk usage. The left sidebar is where everything happens:
- Edit Users — create and manage email accounts
- Edit Databases — your MariaDB/MySQL databases
- Manage Web Apps — install WordPress, phpMyAdmin, RoundCube and more
- File Manager — your website files (your site lives in
public_html) - Manage Virtual Server — change your password, set up your SSL certificate
- Web Configuration / Mail Options / DNS Settings — advanced settings
- Backup and Restore — back up your virtual server
Changing your Virtualmin password
In the left sidebar go to Manage Virtual Server > Change Password, enter the new password twice (there's a generator button for a strong one), and click Change Now. Note: this password is also used by the main FTP/SSH user for your account, so update it in any saved FTP connections too.
Related articles
Setting up email accounts in Virtualmin • How to install WordPress • How to manage databases in Virtualmin