
Applies to: Linux and WordPress hosting customers
Creating a mailbox like info@yourdomain.co.za on Linux hosting takes a minute in Virtualmin. Here's the process, plus the options available on each mail user.
Creating a mail user
- Log into Virtualmin (see How to log into Virtualmin).
- Click Edit Users in the left sidebar. The page lists your existing users and shows how many more your plan allows.
- Click Add mail user in the toolbar above the user list.
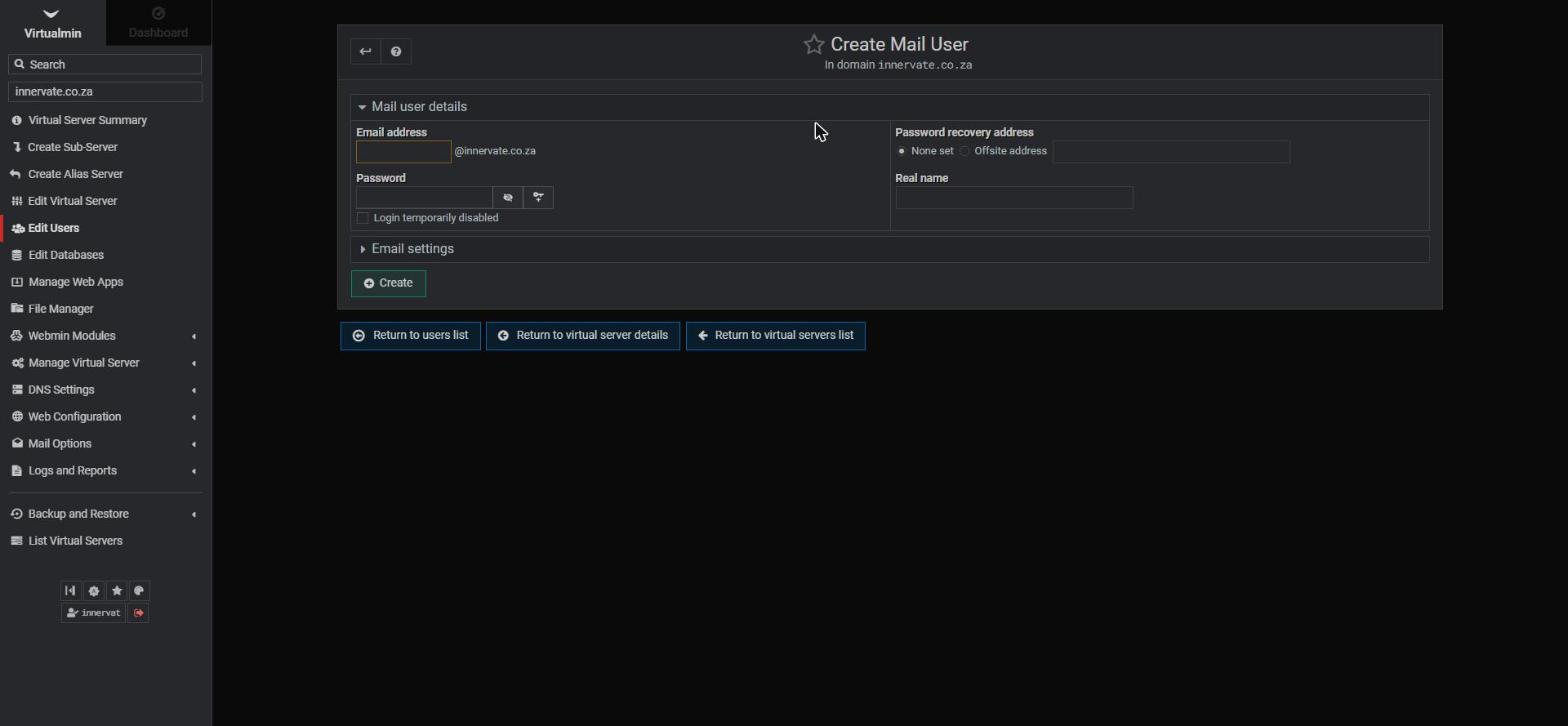
- Fill in the essentials:
- Email address — the part before the @ (the domain is fixed).
- Password — type one or click the generator icon for a strong random password. Save it somewhere safe.
- Real name — the person's name (optional).
- Password recovery address — optionally, an offsite address that can be used to recover this mailbox's password.
- Click Create. The mailbox works immediately.
Useful options under "Email settings"
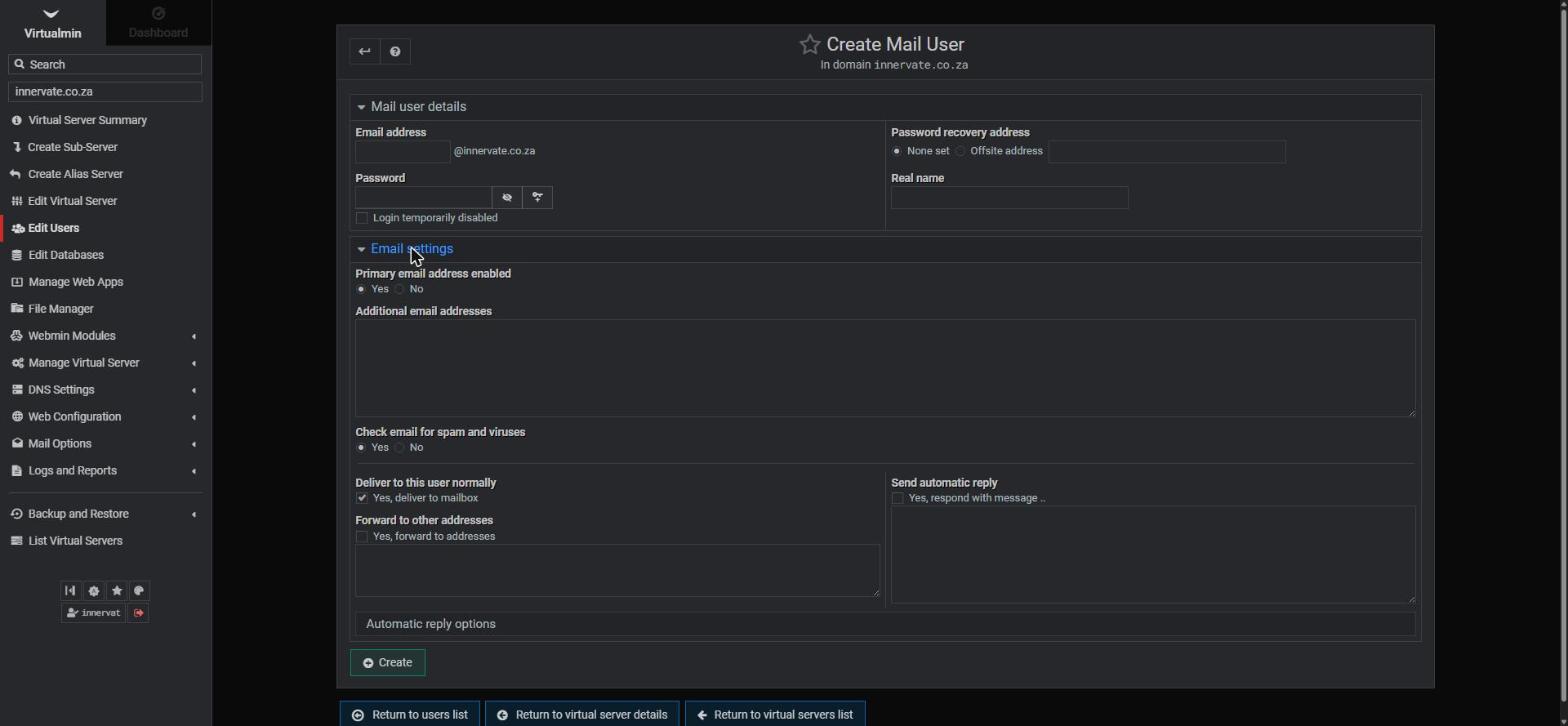
Expand the Email settings section on the same form (or open an existing user later) for:
- Additional email addresses — extra addresses (aliases) that deliver to this same mailbox, e.g. adding
sales@andaccounts@to one user. - Check email for spam and viruses — leave on (Yes) unless you have a specific reason not to.
- Forward to other addresses — see Email forwarding and autoresponders in Virtualmin.
- Send automatic reply — the out-of-office autoresponder, with scheduling under Automatic reply options.
Using the new mailbox
Read your mail via webmail in a browser, or set it up in Outlook or on your phone — the exact server settings are in Email settings for Outlook and phones (Linux hosting). The username for logging in is always the full email address.
Changing a mail user's password
Go to Edit Users, click the user's name, enter a new password in the password field, and save. Then update the password on every device that collects that mailbox.
Related articles
Email settings for Outlook and phones (Linux hosting) • How to access webmail (Linux hosting) • Email forwarding and autoresponders in Virtualmin